HDR on Windows: what you need before starting
Most HDR problems on Windows happen before you touch any settings: the PC and display aren’t actually negotiating an HDR signal, or they’re doing it with a compromise (wrong port, wrong cable, wrong refresh rate, or limited color depth). Start by confirming your monitor/TV supports HDR10 and can accept it on the exact input you’re using, then check your GPU has an HDMI/DisplayPort version that matches the display’s HDR mode at your target resolution and refresh rate. Plan for trade-offs: 4K at high refresh can force chroma subsampling or 8-bit output on some setups, which makes HDR look worse even when it “turns on.”
Also set expectations: Windows HDR affects the desktop, games, and video apps differently, and streaming services may require a specific app, browser, or DRM path to trigger HDR. Have your display remote handy, because “HDR” often has separate picture modes, local dimming settings, and brightness limits that override what Windows is doing.
Check your display, GPU, and cables for real HDR
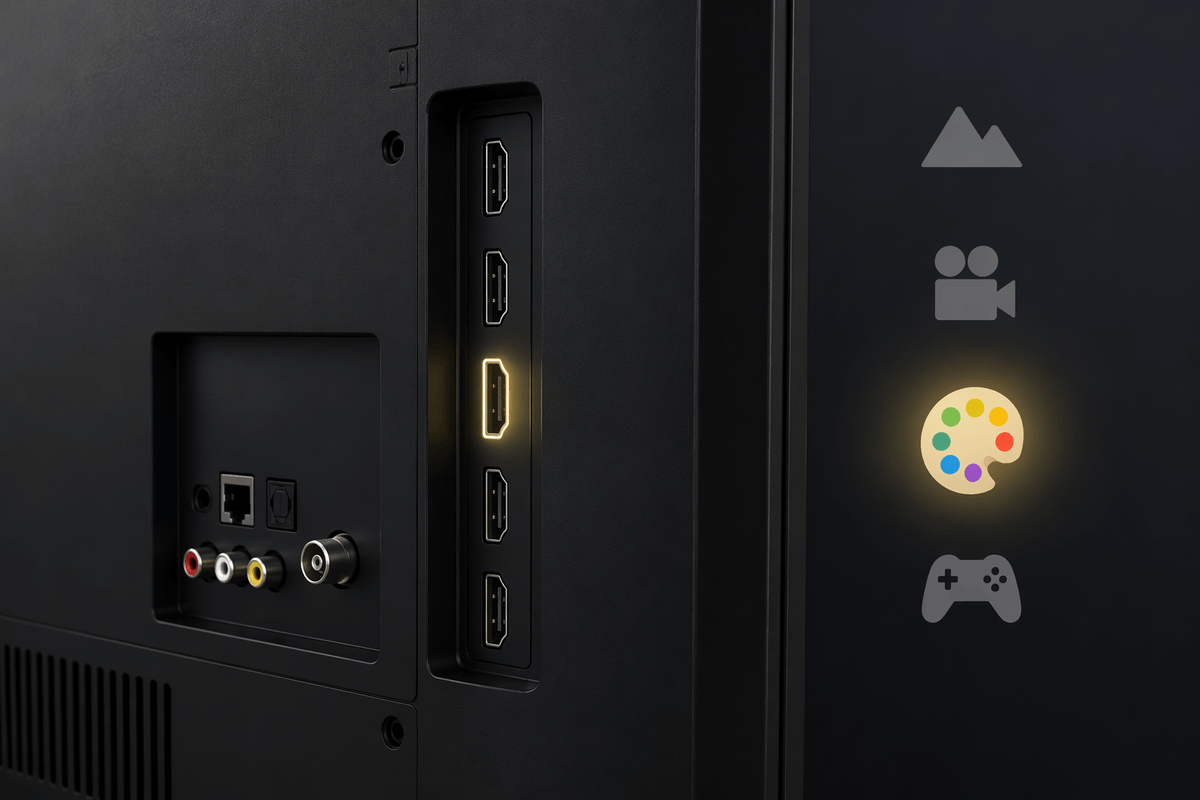
The quickest reality check is your display’s on-screen info page while an HDR signal is active. Many monitors/TVs will explicitly show “HDR10” (or at least “HDR”) plus the resolution and refresh rate. If it never shows HDR, you’re not negotiating it, even if Windows offers an HDR toggle. Also watch for “HDR400” style labels: those can accept HDR but may not get bright enough to look dramatic, especially in daylight. Make sure the exact input you’re using supports HDR; some TVs only enable full-bandwidth HDR on certain HDMI ports and may require an “Enhanced/Deep Color” switch in the input settings.
On the PC side, use the GPU’s native port (avoid docks/adapters) and a certified cable. DisplayPort is usually safest for monitors; HDMI 2.0 can be enough for 4K60 HDR, while 4K120 HDR often needs HDMI 2.1. If you push high refresh at 4K, expect compromises like 8-bit or chroma subsampling that can make gradients look rough.
Turn on HDR in Windows without washing out colors
The classic “washed out” moment happens right after you flip Windows HDR on: your SDR desktop and apps get tone-mapped into HDR and can look gray, low-contrast, or overly bright. Go to Settings > System > Display, select the HDR display, then turn on “Use HDR.” If your build shows an “HDR video streaming” toggle, turn it on too, but don’t judge the result from the desktop alone.
Instead, set “SDR content brightness” while looking at something familiar like a web page with a white background and dark text. If whites look dingy, raise it a bit; if everything looks foggy and blacks lift, lower it. Then use your monitor/TV picture mode made for HDR (often “HDR Movie/Game”) and avoid extra “Dynamic Contrast” tricks that crush detail.
Practical limitation: enabling HDR globally can make color-managed creative apps and older games look wrong, so it’s normal to leave HDR off for everyday work and only toggle it on for HDR games and video.
Calibrate HDR so highlights pop but blacks stay clean
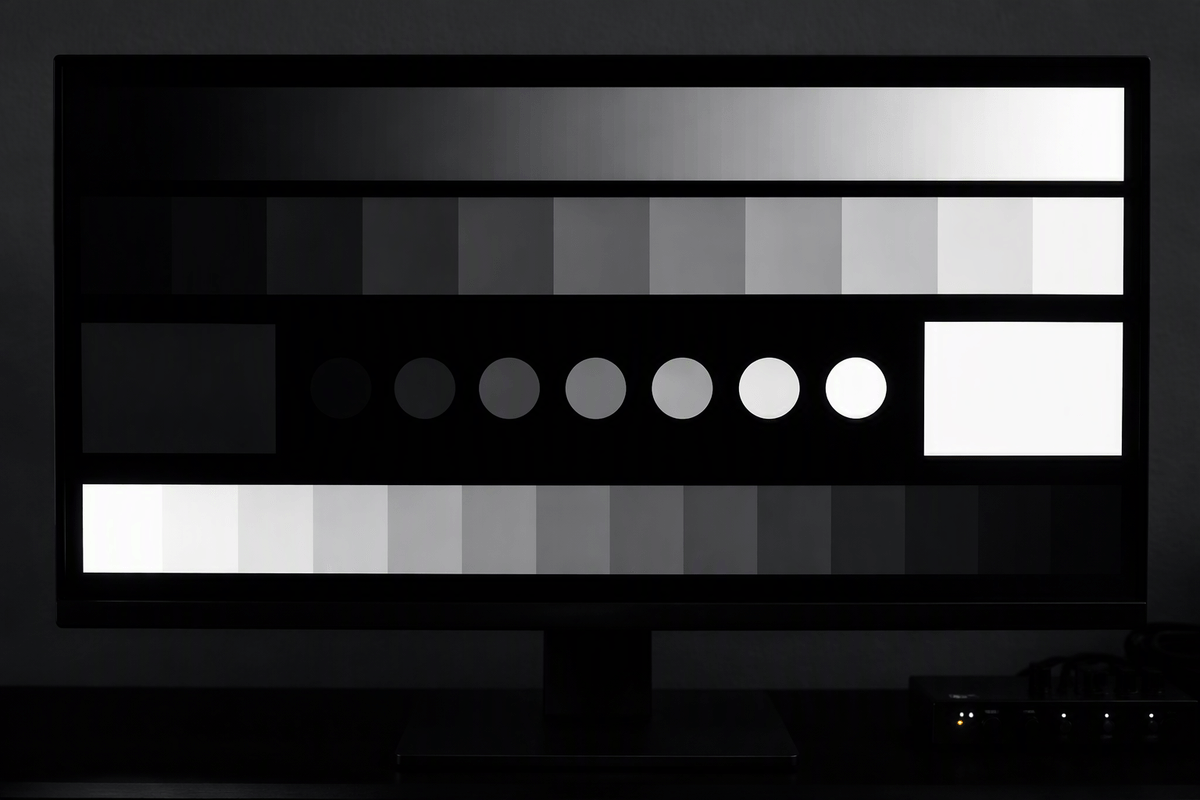
You’ll recognize miscalibrated HDR when bright UI elements bloom or clip to flat white, while shadows look lifted and “milky.” Start with Microsoft’s Windows HDR Calibration app from the Microsoft Store. Run it on the HDR display you actually use, in the same refresh rate you game at, and with your monitor/TV already in its HDR picture mode (and local dimming set how you normally watch/play). Follow the patterns slowly and don’t chase “brighter” if it hides detail; the goal is to find the point where you barely stop seeing the test shapes, not to max every slider.
After you save the profile, re-check your display’s key HDR controls: turn off “Dynamic Contrast,” leave gamma at default for HDR, and avoid stacking multiple tone-mapping features (Windows plus a TV “HDR Tone Mapping” boost) because it often raises blacks and blows highlights. Practical constraint: entry-level HDR monitors may never produce dramatic specular highlights, so calibration mainly prevents clipping and keeps blacks from washing out.
Get HDR working in games: settings that actually matter
A familiar symptom in games is “HDR is on, but it looks the same (or worse).” First, confirm the game is actually outputting HDR: many titles require Windows HDR to be enabled before the in-game HDR toggle appears, and some only switch when you run exclusive fullscreen (or they misbehave in borderless). If your monitor/TV has an HDR info overlay, use it while the game is running; don’t trust a menu checkbox.
In-game, prioritize three settings: paper-white (UI brightness), peak brightness, and black level. Paper-white sets how bright HUD and menus sit inside HDR; too high makes the whole scene feel gray. Peak brightness should match what your display can actually hit; if you guess too high, highlights clip to flat white, and if you set it too low, everything looks dim. Black level should be set with local dimming in its normal mode; changing local dimming later can lift blacks or crush shadow detail. Practical limitation: some games apply their own tone mapping on top of Windows, so one title may need very different numbers than the next.
Watch HDR videos: streaming apps, browsers, and local files
You’ll usually notice video HDR problems because the movie looks dim compared to SDR, or because it never flips your display into an HDR mode. Start by checking for an on-screen “HDR”/“HDR10” indicator on your monitor/TV when playback begins. For streaming, the most reliable path is often the service’s Windows app (for example, Netflix/Disney+/Prime Video when available) because HDR can depend on DRM and hardware decoding. Browsers are hit-or-miss: even when a site offers “HDR” in the title description, your browser, GPU driver, and Windows HDR state all have to line up, and some combinations top out at SDR or 4K SDR.
For local files, use a player that explicitly supports HDR passthrough/tone mapping on Windows (MPC-BE/MPC-HC with modern renderers, or VLC in current builds). Confirm the file is actually HDR10 (not just labeled “HDR”) and that your output isn’t being forced to 8-bit by a high refresh rate setting. Practical constraint: HDR streaming can also require a higher subscription tier and enough bandwidth, so a “no HDR badge” problem isn’t always your PC.
Fix common HDR problems: dim screens, flicker, no HDR badge
If HDR suddenly looks too dim, check two places first: your display’s HDR picture mode (some default to an “Eco” brightness cap) and Windows’ “SDR content brightness,” which can drag the whole image down when you’re judging HDR by the desktop. In games, re-run the title’s HDR sliders after you change refresh rate or local dimming, because peak-brightness guesses that were “close enough” at 60 Hz can look flat at 120/144 Hz if the GPU drops to 8-bit or chroma subsampling.
Flicker usually comes from signal instability: high refresh + HDR + VRR is a tough combo on marginal cables, adapters, or TV HDMI ports that aren’t set to Enhanced/Deep Color. Try a certified cable, plug into a different port, then test 4K60 HDR (or lower the refresh one step) to see if it stabilizes. If you never get an HDR badge in a streaming app, confirm the service tier supports HDR, then prefer the Windows app over a browser and make sure Windows HDR is on before launching playback.
A simple HDR routine you can reuse for games and movies
When you sit down to play or watch, start by switching the display to its normal HDR picture mode (and your usual local dimming setting), then turn on Windows “Use HDR” and set “SDR content brightness” so the desktop looks acceptable but not gray. Launch the game or video and confirm your display’s info panel shows HDR/HDR10; if it doesn’t, fix the signal first (port, cable, refresh rate) before touching sliders.
For games, set paper-white so UI isn’t glowing, then set peak brightness to the highest value that still preserves highlight detail. For movies, don’t “fix” a dim stream with random TV contrast boosts; use the right app/browser path, and accept that 4K high-refresh HDR can force compromises you’ll notice as banding or flicker.