What Voice Memos can do across iPhone, iPad, and Watch
You’ve probably had the moment where typing feels too slow—capturing a meeting note, a class explanation, or an idea while you’re walking. Voice Memos lets you record, stop, and save in seconds on iPhone, iPad, and Apple Watch, then come back to the audio later to rename it, trim rough edges, and share it as a file.
On iPhone and iPad, you get the most control: clearer meters, easier editing, and straightforward sharing to Messages, Mail, Files, or third‑party apps. Apple Watch is built for speed—tap to record when your phone isn’t handy—then do cleanup and organizing on iPhone or iPad, where the screen space makes the work faster.
Before you record: microphone access, sync, and storage basics
The first time you hit record, the only “setup” that matters is permission. If you tapped “Don’t Allow” for microphone access, Voice Memos will open but won’t capture sound. On iPhone or iPad, go to Settings > Privacy & Security > Microphone and switch on Voice Memos. On Apple Watch, it relies on the Watch’s mic, but the same idea applies—if microphone access is blocked, you’ll get silence.
For syncing across devices, iCloud is the difference between “on this device only” and “available everywhere.” In Settings, make sure you’re signed into the same Apple Account and that iCloud for Voice Memos is enabled (and that you have enough iCloud storage). Recordings can be large—especially longer meetings—so low device storage or low iCloud space can prevent uploads, slow syncing, or make sharing fail at the worst time.
Create a voice memo on iPhone without missing anything important
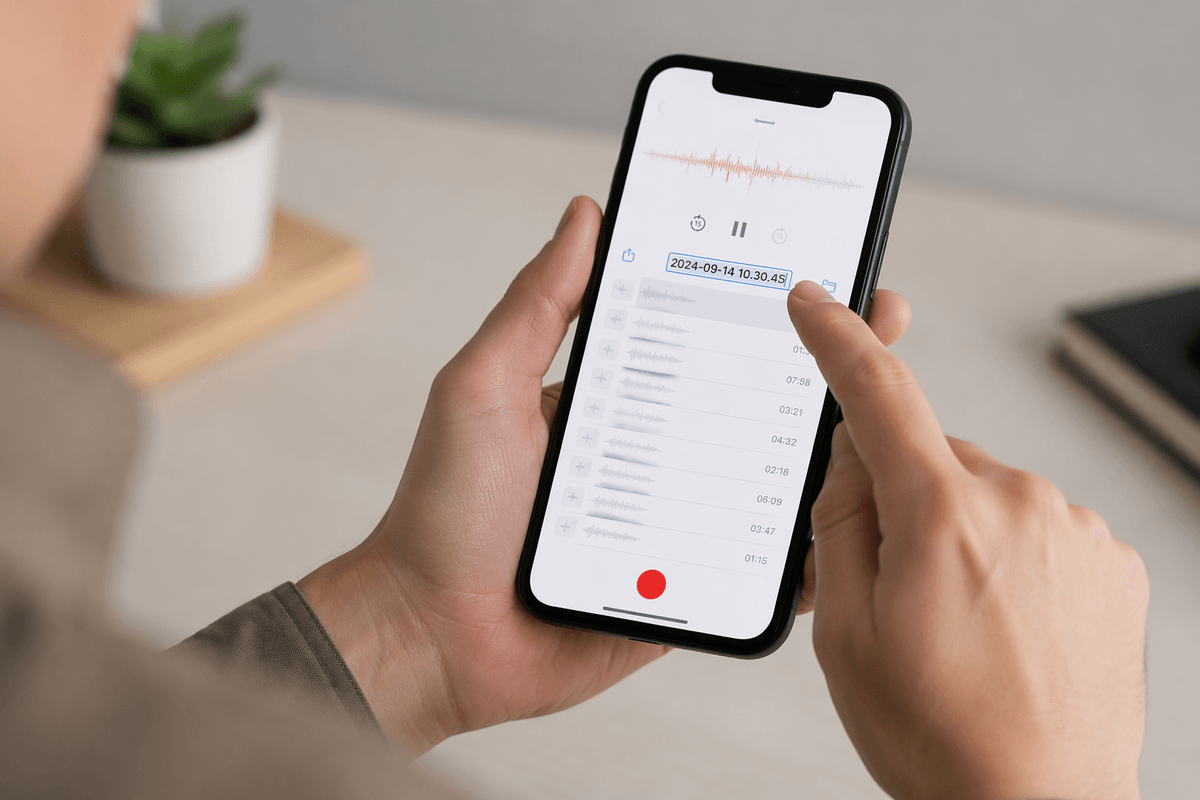
You’re standing outside a classroom or walking into a meeting and realize you need to capture audio right now. Open Voice Memos on iPhone (it’s usually in the Utilities folder, or pull down on the Home Screen and search “Voice Memos”), then tap the red record button. Keep the bottom microphone opening clear of your hand or a case edge, and glance at the waveform to confirm it’s actually picking up sound.
Tap the same button to stop; the memo saves automatically and appears at the top of your list as a time-and-date name. If you need to mark it so you can find it later, tap the name and rename it immediately (for example, “Client call – July 27” rather than “New Recording”). For quick sharing, open the memo and use the share button to send it to Messages, Mail, or Files. Longer recordings take time and storage, so if sharing or syncing spins, check your connection and free space before you leave the moment behind.
Recording on iPad: when the interface feels similar but isn’t
You open Voice Memos on iPad and it looks familiar, but the layout can throw you off because it behaves more like a two‑pane app. In landscape, your recordings list may stay visible on the left while the current recording controls sit on the right, so you’re not always “backing out” to find what you just made—you may already be looking at it. Tap the red record button to start, and watch the waveform to confirm the mic is picking you up.
When you stop, the memo saves automatically and appears in the list, but renaming is often easiest from the list view: tap the title and edit it right away. If you’re using an iPad with a keyboard or Pencil, it’s tempting to set it on a desk and record hands‑free, but room echo becomes the trade‑off. For cleaner audio, move closer, lower speaker volume, and expect larger files if you record long sessions.
Apple Watch recordings: quick capture, then clean up later
You’re mid-walk, hands full, and an idea shows up at the exact wrong time. On Apple Watch, open the Voice Memos app and tap the red record button; you’ll see a timer and waveform so you know it’s actually capturing audio. Tap again to stop—your recording saves immediately, usually with a time-and-date style name, so don’t worry about “saving” before you get moving again.
The watch is best for capture, not polishing. The small screen makes precise trimming and careful renaming slower, and background noise is harder to notice until later. When you’re back at your iPhone or iPad (and iCloud syncing has had a moment), rename it, trim the awkward first and last seconds, and share from there. If a watch recording doesn’t appear right away, it’s often a connection or storage issue, not a missing file.
Edit, organize, and share your memos across devices
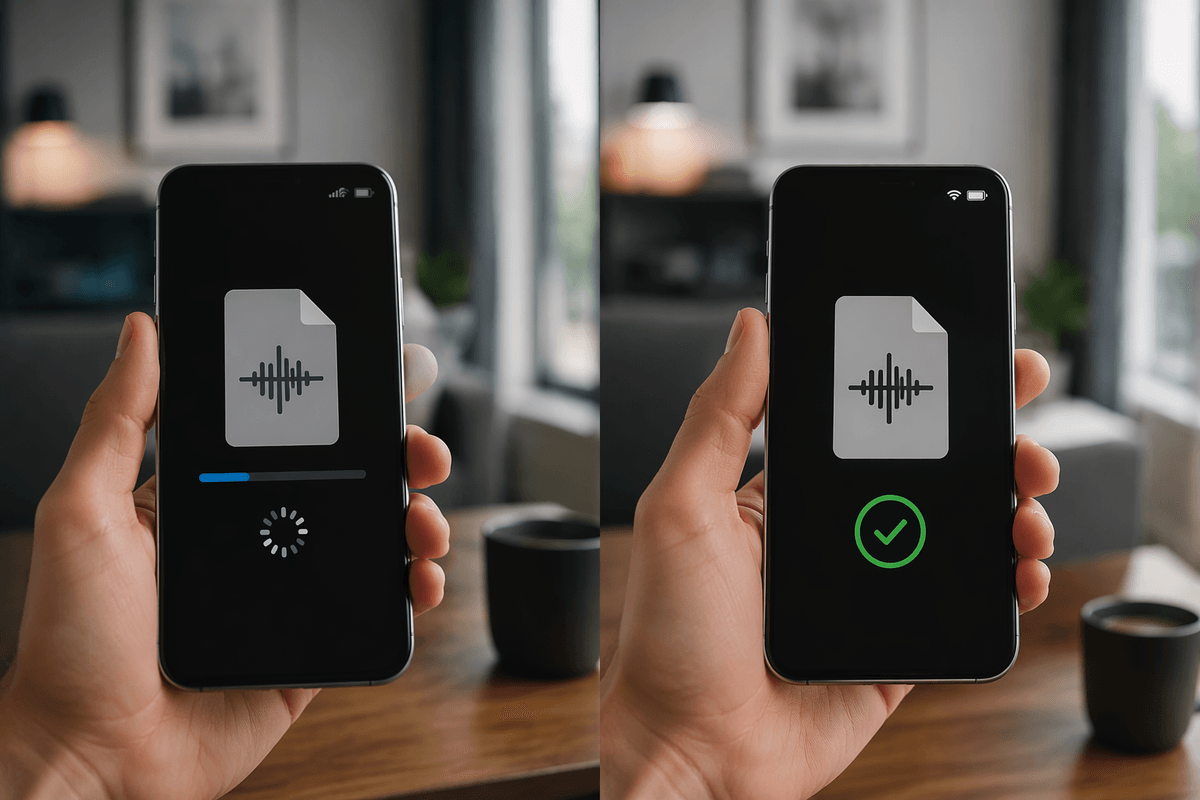
You’ll feel the payoff of syncing the first time you record on Apple Watch, then see the same memo show up on iPhone or iPad where it’s easier to manage. Open the recording, tap the title to rename it with something you’ll recognize later, and use Favorites (the heart) for anything you’ll revisit. If your list is getting long, search by the memo name and keep a simple naming habit like “Project – topic – date” so results are predictable.
For quick cleanup, use Trim to shave off the “are you recording?” beginning and the fumble at the end. On iPhone and iPad you can also replace a section if you need to re-say a line without starting over, but it takes a steady hand and a quiet moment, so it’s not ideal on the move. When it’s ready to leave the app, use Share to send it to Messages or Mail, save it to Files for a class or work folder, or hand it off to another app. If sharing fails or takes forever, the usual cause is file size plus weak connection, so try Wi‑Fi and confirm you have storage.
Troubleshooting and practical recording habits for better audio
You notice problems when you play a memo back: it’s silent, too quiet, or buried in noise. Silence is almost always microphone permission or the mic being blocked by your hand, case edge, or clothing; on iPhone/iPad, recheck Settings > Privacy & Security > Microphone, then do a 3‑second test while watching the waveform. If levels are low, move the device closer to the speaker instead of “turning it up later,” because boosting also boosts hiss.
Noise is usually distance and environment. Record closer, turn off fans or music, and aim the mic toward the person talking; in meetings, putting the phone flat on the table can reduce handling noise but can add room echo. If a memo won’t show up on another device, give iCloud a minute, then confirm you’re on the same Apple Account, have Wi‑Fi, and have free device and iCloud storage—long recordings are the quickest way to hit those limits.
A simple workflow: capture anywhere, polish on iPhone or iPad
The simplest workflow is to treat Voice Memos like a capture tool first, and an editing tool second. Record wherever you are: Apple Watch when your phone isn’t reachable, iPhone when you want the quickest “good enough” quality, iPad when it’s already set up on a desk. Don’t overthink names in the moment—just stop the recording so it saves, then keep moving.
Later, open the same memo on iPhone or iPad once it’s synced, rename it with a clear “topic + date,” trim the dead air, and share it to Files (for organizing) or Messages/Mail (for sending). The main constraint is time and storage: long recordings may take a while to upload, and they’re easiest to polish on Wi‑Fi with plenty of free space.