When you need your iPhone to read the screen
You usually reach for screen reading at the exact moment the screen is least cooperative: tiny text in a pop-up, a security code you need to verify, a long webpage, or an app where the buttons aren’t clearly labeled. Sometimes it’s temporary—your hands are full and you just want the phone to read the next instructions out loud. Other times it’s essential, like when vision, focus, or fatigue makes visual scanning slow and frustrating.
The key is knowing there are two “read it to me” modes on iPhone: one that simply speaks what’s on the screen, and one that changes how you control the phone so you can navigate by listening. The second option is powerful, but it also means your taps and swipes behave differently, which can feel like something “broke” if you weren’t expecting it.
VoiceOver vs Speak Screen: which tool fits today
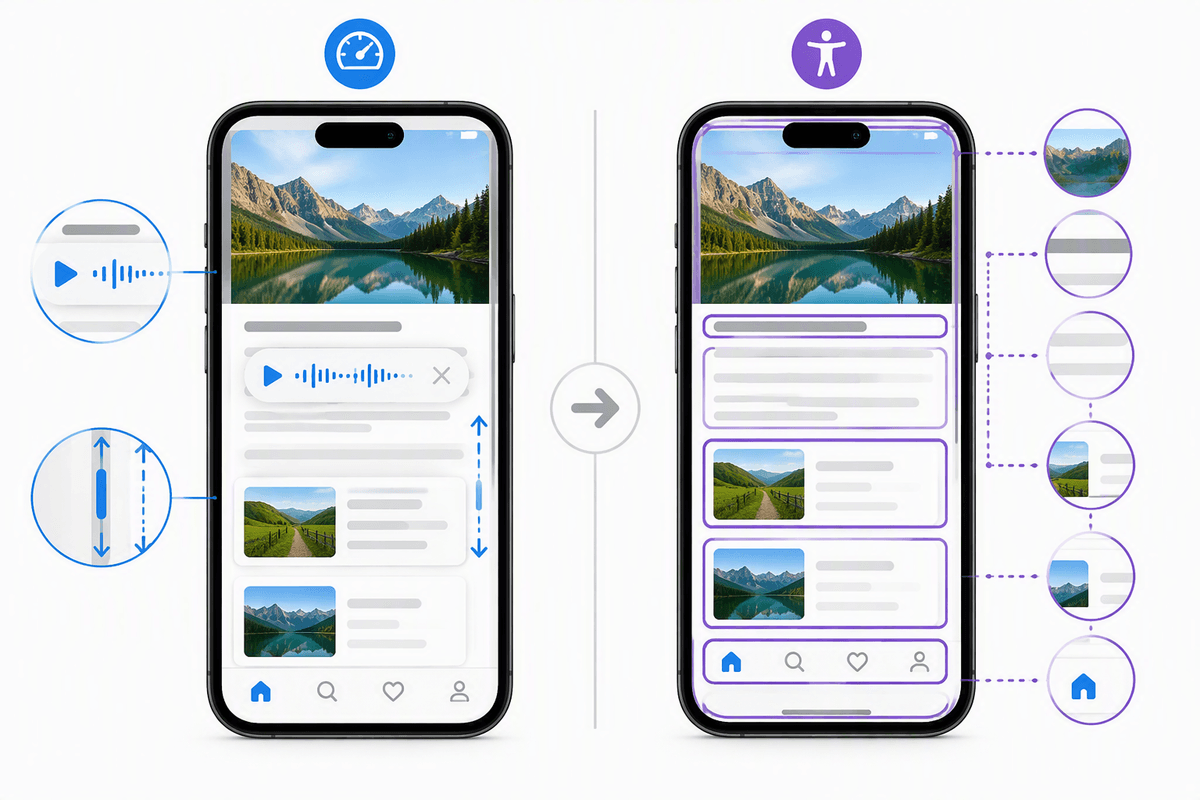
If you just want a quick readout and you still plan to tap normally, start with Speak Screen. It’s the lighter option: you swipe down with two fingers from the top of the screen and iPhone reads the content while you keep regular touch controls. It’s ideal for articles, messages, recipe steps, or checking a pop-up without changing how the phone behaves.
VoiceOver is the full screen reader. It’s for navigating the whole phone by sound—moving through buttons, links, and text one item at a time. The trade-off is that it rewires touch: a single tap only “highlights” something, and you use a different action to open it. That’s why people feel stuck when it turns on unexpectedly. VoiceOver is worth it when you need reliable access across apps, but it takes a few minutes of practice and can be slower at first.
Turn on VoiceOver without getting stuck
It’s common to turn on VoiceOver by accident (or to try it once and then panic because the phone “stopped listening” to taps). The safest way to toggle it is with Siri: say “Turn VoiceOver on” or “Turn VoiceOver off.” If you prefer a button shortcut, set up Accessibility Shortcut in Settings > Accessibility > Accessibility Shortcut, then triple-click the Side button (or Home button on older phones) to toggle VoiceOver.
When it turns on, remember this: one tap only selects and speaks an item; it doesn’t open it. To activate the selected item, double-tap anywhere on the screen. If you’re stuck on a Lock Screen or can’t find what you need, don’t keep tapping rapidly—VoiceOver will just jump around and feel chaotic. Slow down, listen for the item name, then double-tap to confirm.
The three gestures that make VoiceOver click
The moment VoiceOver starts feeling usable is when three gestures become automatic. First: swipe left or right with one finger to move the VoiceOver cursor to the previous or next item. Think of it as “scan” mode for the screen—buttons, text, and controls in order. If the phone is talking too much, keep swiping until you hear the thing you want.
Second: double-tap with one finger to activate the selected item (open a button, press a switch, follow a link). You can double-tap anywhere; you don’t have to land on the exact button. Third: use a two-finger scrub (draw a quick “Z” on the screen) to go back—this often acts like a Back button, closes a screen, or exits a menu.
A practical constraint: these gestures are timing-sensitive. If your double-tap is too slow, VoiceOver may treat it like two separate taps. Start deliberately, then speed up once it’s consistent.
Hear more, faster: reading by words, lines, and headings
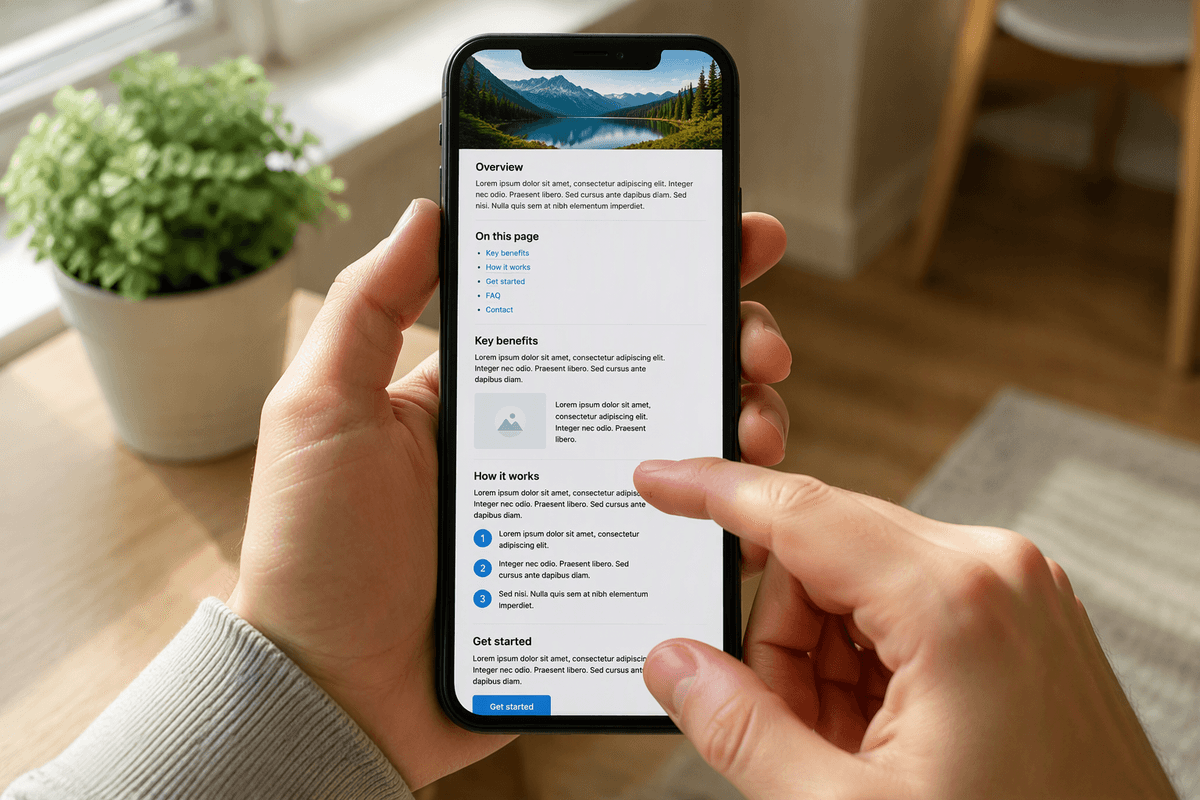
You’ll eventually hit the point where swiping item-by-item feels too slow, especially in long emails, web pages, or documents. This is where VoiceOver’s “rotor” saves time. Put two fingers on the screen and twist them like you’re turning a small dial. VoiceOver will announce what you’re adjusting (for example: Characters, Words, Lines, Headings, Links). Twist again to pick the one you want.
Once the rotor is set, swipe up or down with one finger to move by that unit. Set it to Words when you need to verify a code, spelling, or a confusing name. Use Lines to read a paragraph more smoothly without landing on every button. In Safari or many reading apps, Headings and Links let you jump through structure fast—great for skipping menus and finding the section you actually want. The limitation is that not every app exposes headings well, so sometimes Lines is the most reliable fallback.
Text fields, keyboards, and buttons: doing real tasks
You notice the difference between “reading” and “doing” the moment you hit a text field. Swipe until you hear “text field,” then double-tap to place the cursor and bring up the keyboard. When the keyboard is up, explore it by dragging a finger around the keys to hear them, then lift your finger to type that key (this is the default “touch typing” style for many people). If you prefer a more deliberate approach, go to Settings > Accessibility > VoiceOver > Typing Style and choose Standard Typing, where you double-tap to enter the selected key.
For buttons and controls, treat the label as the truth. “Send,” “Done,” “Search,” and “Back” are straightforward: swipe to them and double-tap. For switches, VoiceOver usually says “on/off”; double-tap toggles. A real constraint: some apps have poorly labeled buttons, so you may hear “button” without a name. When that happens, slow down and use the rotor set to “Buttons” (if available) to jump between controls, or back out with the two-finger scrub and try a different path.
Make it comfortable: speech, verbosity, and braille options
The first comfort win is speech. In Settings > Accessibility > VoiceOver > Speech, adjust the speaking rate until you can follow it without strain, then nudge it faster over a few days. Add a second voice for variety or clarity, and use Pronunciations for names your phone keeps mangling. If you wear AirPods, routing VoiceOver to them can make practice less tiring in public.
If it feels “too chatty,” trim what VoiceOver announces. In Verbosity, you can reduce hints, punctuation, and extra info like “button” on every control. The trade-off is that less detail can make unfamiliar apps harder, so start small—turn off one thing, test, then keep going.
For braille, Braille settings let you pair a display, or use Braille Screen Input to type on the glass. It’s powerful, but it adds setup time and a learning curve.
Quick troubleshooting and a simple practice routine
If VoiceOver suddenly feels “stuck,” don’t fight the screen. First try Siri: “Turn VoiceOver off.” If Siri isn’t reachable, triple-click the Side/Home button (if you set Accessibility Shortcut), or ask someone to press it for you. If the phone isn’t responding, check two common gotchas: Screen Curtain may be on (three-finger triple-tap), or the rotor/typing style changed and swipes don’t do what you expect—slow down and listen for the spoken feedback before trying again.
For a simple routine, practice for two minutes in Settings: swipe right five times, double-tap once, scrub back once. Then open Messages, find a conversation, and read three items by swiping right. Stop there. Short, repeatable reps beat long, frustrating sessions.